How to Make a Wedding Seating Chart Without the Stress
The seating chart is where most wedding planning stress explodes. It's not the food, not the flowers — it's the one task where every decision touches someone's feelings. Here's how to do it without the tears.
TL;DR — Key takeaways
- Start with your VIP guests first — the bridal party, immediate family, and your oldest friends — then build outward from there.
- Group guests by who knows whom, not by seniority or status; tables should be collections of people who will enjoy each other.
- Draw a quick floor sketch first, then assign names — working backwards from tables is far easier than starting from a guest list.
- Aim for a maximum of 8–10 guests per round table; larger tables feel anonymous and smaller ones feel exclusive.
- Test every arrangement before finalizing — walk through the room mentally and spot conflicts before they happen.
The one task everyone dreads
If you’ve been through a few weddings as a guest, you know the moment: the reception doors open, the room fills up, and suddenly everyone is drifting in slow circles trying to figure out where to sit. Some tables are empty. Some tables have five people who barely know each other. And somewhere in the middle, the couple who was supposed to sit at the head table is still standing by the entrance, holding their programs and looking lost.
It doesn’t have to be this way.
A well-planned seating chart is one of those invisible things — your guests won’t comment on it, but they’ll feel it. The best weddings have tables where strangers end up laughing together by dessert. The worst have visible groups huddled in corners, too uncomfortable to mingle.
Making a wedding seating chart doesn’t need to be stressful. You just need a system, and you need to know the principles that turn a wall of names into a set of tables where people actually enjoy each other’s company.
Start with the floor, not the guest list
Here’s a trick most people never think of: don’t start with your guest list. Start with your room.
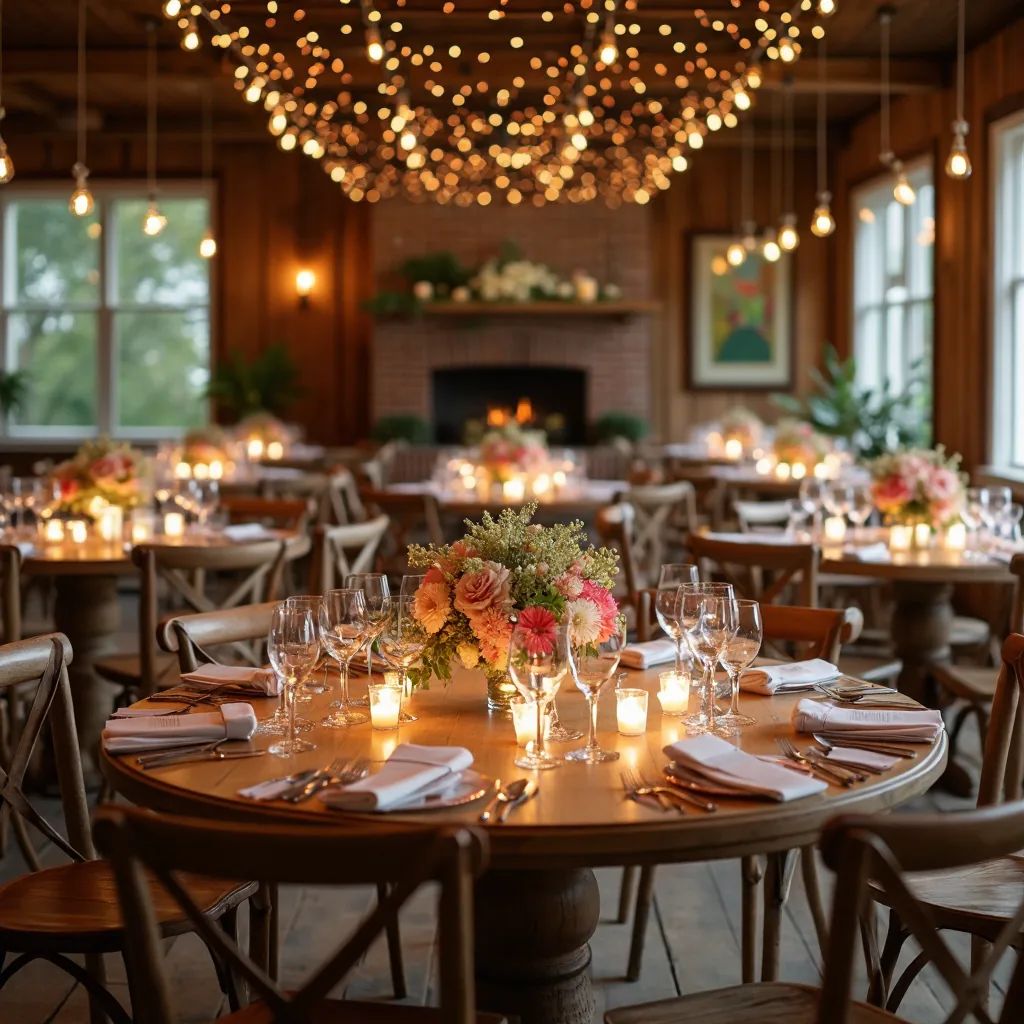
Grab a piece of paper and draw your venue. If you have a floor plan from the venue, even better. Mark in where the stage or head table is, where the dance floor goes, where the buffet or bar sits, and where the bathrooms are. Draw some circles or rectangles to represent your tables — the actual number and type you’ll have.
Now you’re working with a physical reality, not an abstract list. You can see sight lines. You can see who’s near the dance floor and who’s near the quiet corners. You can spot the table that ends up three table-lengths away from any single parent with a toddler.
This is exactly the kind of planning where having a visual floor plan helps enormously. A drag-and-drop seating planner lets you sketch your room, place tables, and move guests around until everything feels right — all on your phone, no printer required.
The golden rule: seat people with the people they want to be with
The single most important principle of wedding seating is this: every guest at a table should have at least one person they’re excited to talk to.
This means grouping by relationship, not by title.
Here’s what that looks like in practice:
Group 1 — The inner circle. Your bridal party, immediate family, and your oldest friends. These are non-negotiable tables. If someone is giving a speech, sitting them near the stage or head table means they can be seen. If someone has a mobility issue, seat them where access is easiest.
Group 2 — The social clusters. People who already know each other well. College friends, coworkers who socialize outside work, cousins who text each other regularly, your partner’s hiking group. These are the easiest tables to build and the most fun because the conversation is already flowing.
Group 3 — The bridges. This is where the skill comes in. A table that mixes someone’s work friends with someone’s childhood friends. A table where the person who loves cooking sits next to someone who loves to travel. The goal is overlap — find two groups of people who share a hobby, a life stage, or even just a sense of humor, and put them together.
Group 4 — The wildcards. Your aunt by marriage who you’ve never met. Your partner’s college roommate who lives in another country. The neighbor who lent you their lawnmower three years ago and you still owe a thank-you. Seat these people with your most social, most generous guests — the ones who can make anyone feel welcome.
A step-by-step system that actually works
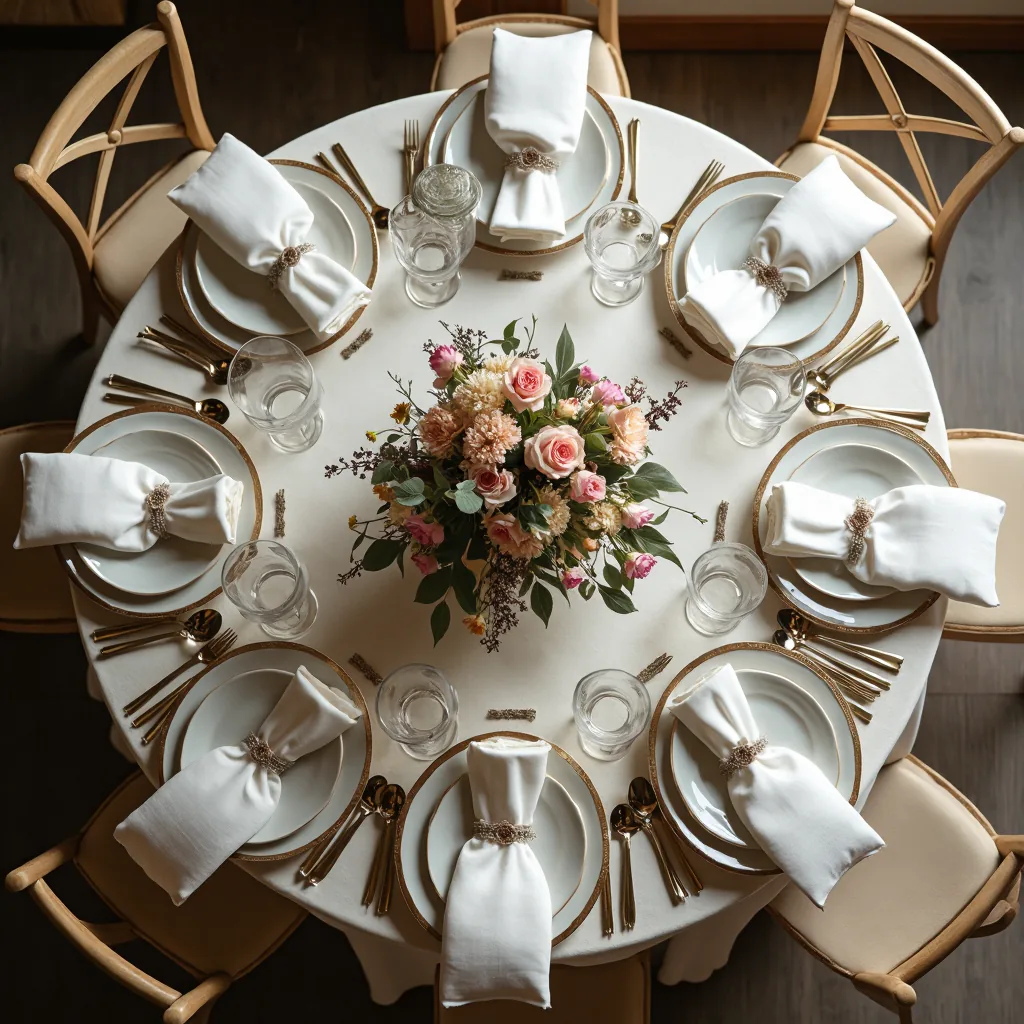
Here’s the exact process I use when I’m stuck. It works whether you’re planning a wedding with 60 guests or 160.
Step 1: Lock your VIP tables
Write down the 4–6 tables you’re absolutely sure about first. This usually includes:
- The head table or sweetheart table
- Both sets of parents
- The wedding party
- Your oldest friends
Lock these in stone. Everything else will be built around these anchors.
Step 2: Triage the guest list
Take a pen and mark each remaining guest with a quick symbol:
- F for family (extended)
- W for work friends
- C for college or school friends
- P for partner’s friends
- N for neighbors or community
- ? for someone you’re unsure about
Don’t overthink this — one pass, rough strokes.
Step 3: Build the clusters
Look at your symbols. Where do you see natural groups? Six coworkers? Four cousins? Three of your partner’s gym friends? Circle them. Each circle becomes a table candidate.
Now look for pairs of circles that could merge. The college friends + the work friends? Maybe they bond over a shared love of bad TV. The cousins + the partner’s friends from the city? They might have a generation gap that actually makes for interesting conversation.
Step 4: Draw it
This is the critical step that most people skip. Take your circles and map them onto the floor plan you drew earlier. Place each cluster at a table position. Ask yourself:
- Is this table near the dance floor or far from it?
- Is this table next to the bathroom?
- Is this couple’s table too far from the head table for them to say hello?
- Do the parents of the groom end up on the opposite side of the room from the parents of the bride?
Move things around until it feels balanced.
Step 5: Walk through every table
Go table by table, guest by guest, and ask: “If I were this person, who am I sitting next to, and do I want to talk to them?”
Be brutally honest. If a guest is the life of every party, they’ll carry a table. If a guest is quiet but warm, pair them with someone patient and kind. If a guest has strong opinions about something, don’t seat them next to someone with the opposite view unless you want a debate.
Step 6: Test with a trusted person
Show your draft to one or two people you trust — a wedding planner, a friend who’s been through this before, or even a sibling. They’ll spot conflicts you’ve gone blind to. “Wait, why are Uncle Dave and Aunt Carol at the same table?” — things like this surface quickly with a second pair of eyes.
Step 7: Print and share
Finalize your chart two weeks before the wedding. Print escort cards or a display board, and send a copy to your venue coordinator and your wedding party. They’ll be managing the night and need to know where people go.
Common pitfalls (and how to avoid them)
The “everyone is a VIP” problem. When you try to make every table special, no table is. You need to accept that some guests will be at the table near the kitchen door and that’s okay. Not everyone gets the prime real estate.
The “I owe someone a seat” problem. You’ve given your ex’s friend a seat “as a nice gesture.” Now three people at that table don’t know why the other person is there, and the vibe is off. Seat people where they belong — not where you feel guilty.
The “grand finale” syndrome. Saving the hardest tables for last means you run out of time and creativity on the ones that actually need it. Build the easy tables first so you have momentum for the tricky ones.
The spreadsheet trap. Spreadsheets make you think linearly — row by row, guest by guest. But seating is spatial. You need to see tables, not rows. A visual tool where you can drag guests onto tables, preview each arrangement, and export everything as a PDF for the venue completely changes the experience. No more toggling between three different tabs and a sticky note board.
Handling the hard tables
Every wedding has a few tables that cause anxiety. Here’s how to think about them:
Divorced parents. If the divorce is recent or strained, give each parent their own table with supportive people — not your in-laws, not each other’s new partners. Most divorced parents just want to be comfortable and enjoy their child’s celebration without tension.
Blended families. Kids from different marriages often have their own dynamics. Seat siblings together when possible, even if they’re with different parents. Give teenagers a table with their age group, not at a table with adults who don’t know them.
The work friends vs. the home friends. These groups often don’t overlap. Either keep them separate or, if you want them to mingle, create a table with a social bridge — someone from one group who’s genuinely curious and friendly toward the other.
The elderly or mobility-limited guests. Seat them near the entrance, away from loud music, with easy access to the restroom. Accommodation isn’t about drawing attention — it’s about comfort.
When the chart is done, celebrate
It’s easy to obsess over the seating chart until you’ve lost perspective. Here’s a gentle reminder: it’s a party, not a performance. Your guests came to celebrate you. If a few tables aren’t perfect, nobody will hold it against you — least of all your guests.
The goal isn’t a flawless matrix. The goal is a room full of people who feel welcomed, who find good conversation, who leave the night happy that they attended your celebration.
And when you look around that room and see strangers sharing dessert at a table they’d never have chosen on their own, you’ll know it was worth the effort.

One last thought
Planning a wedding involves a lot of moving parts — guest lists, RSVPs, budgets, timelines, vendor coordination, and yes, the seating chart. The thing that makes it overwhelming isn’t any single task; it’s that they’re all tangled together in different places. Notes, spreadsheets, printed lists, email threads with your partner, half-finished sketches on napkins.
Keeping the whole thing in one place — guest list with RSVPs and dietary needs, budget with charts, timeline, vendors, and a drag-and-drop seating plan — means you can actually breathe while planning. No more juggling five different sources of truth.
If you’re looking for a tool that holds all of this in one place and works on your iPhone without needing an account or internet access, Event Stories is free on the App Store with no account required and works offline. It covers guest lists with RSVP tracking, budget charts, timeline building, a drag-and-drop seating planner, and PDF export for sharing with your venue.
Free on the App Store · No account required · Works offline.
Frequently asked questions
How many guests should sit at each table?
For round tables, 8 to 10 guests is the sweet spot. Fewer than 6 and the table feels underwhelming; more than 10 and guests at the edges can't easily talk to each other. Rectangular or banquet-style tables can comfortably hold 10 to 12 guests.
Do I need assigned seating at my wedding?
For weddings with more than 50 guests, yes — assigned seating keeps your event flowing smoothly and prevents awkward standing around on the night. For smaller gatherings of 30 guests or under, a casual setup can work fine. Most hosts find that assigned seating actually reduces stress on the day.
What's the best way to display the seating chart?
There are several options: a large printed display at the entrance where guests find their table, escort cards placed at each seat, or a seating chart board that people can browse. Many couples combine a main display board with individual escort cards for a polished look. Whichever you choose, make sure the font is large enough to read from a standing distance.
How do I handle split families at the seating chart?
Divorced parents, blended families, and strained relatives are common at weddings. Give these guests their own tables with people they genuinely enjoy — don't force them into a 'mildly uncomfortable' table 'for the sake of family unity.' Your job as the host is to make everyone feel welcome, not to police relationships.
When should I finalize my wedding seating chart?
Finalize the seating chart about two weeks before the wedding. This gives you time to print escort cards, notify your wedding party of table numbers, and share a copy with your venue coordinator. You can make small tweaks after that, but lock in the major blocks early.
What if I'm terrible at this and I can't think of who sits with whom?
You're not alone — most couples feel this way. Start by writing down the tables you're absolutely sure about, then work outward. Group people by shared interests, life stage, and friendships. If you're stuck, a shared digital guest list where your wedding party can help suggest tables takes the pressure off. The goal isn't perfection; it's a few tables where everyone has a good conversation.
How do I seat children at a wedding?
Young children (under about 8) generally do best at a dedicated kids' table with some activities, or seated alongside their parents if you want them at the family tables. Older children and teenagers can sit with their parents or at a peer table with their friends. Communicate your plan to parents ahead of time so there's no confusion on the day.